Wednesday 30 December 2015

How to Install Magento2 in Xampp in Ubuntu 14.04


Install XAMPP  On Ubuntu :

Download the latest version from the official download page. As of writing this article, the latest version was 5.6.8.
After downloading the XAMPP package, make it executable as shown below.
sudo chmod +x xampp-linux-x64-5.6.8-0-installer.run
Now, install XAMPP stack as shown below.
sudo ./xampp-linux-x64-5.6.8-0-installer.run
You’ll be asked to answer a couple questions. Here. I will go with defaults.
Press Y to accept the defaults.
----------------------------------------------------------------------------
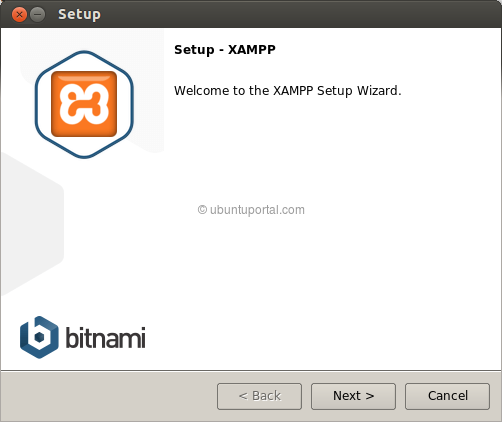
Welcome to the XAMPP Setup Wizard.
----------------------------------------------------------------------------
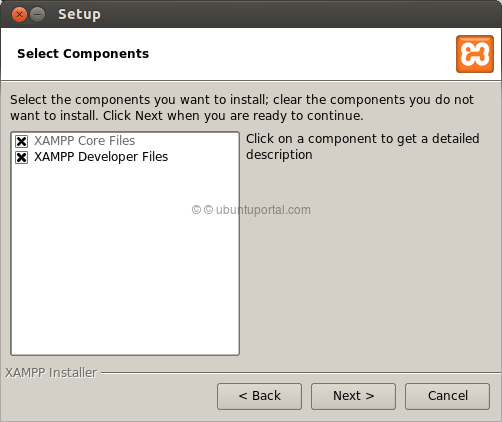
Select the components you want to install; clear the components you do not want
to install. Click Next when you are ready to continue.
XAMPP Core Files : Y (Cannot be edited)
XAMPP Developer Files [Y/n] :y
Is the selection above correct? [Y/n]: y
----------------------------------------------------------------------------
Installation Directory
XAMPP will be installed to /opt/lampp
Press [Enter] to continue:
----------------------------------------------------------------------------
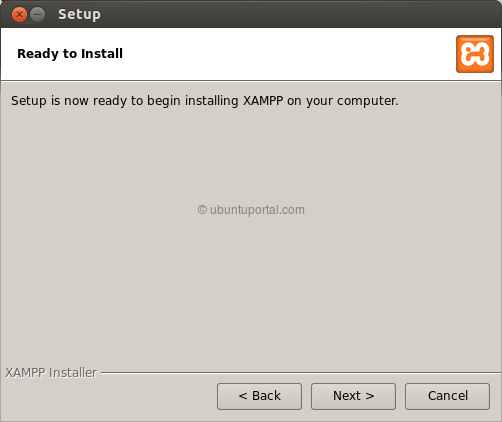
Setup is now ready to begin installing XAMPP on your computer.
Do you want to continue? [Y/n]: y
----------------------------------------------------------------------------
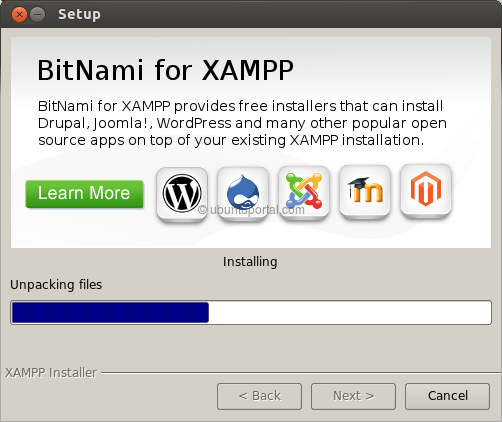
Please wait while Setup installs XAMPP on your computer.
Installing
0% ______________ 50% ______________ 100%
#########################################
----------------------------------------------------------------------------
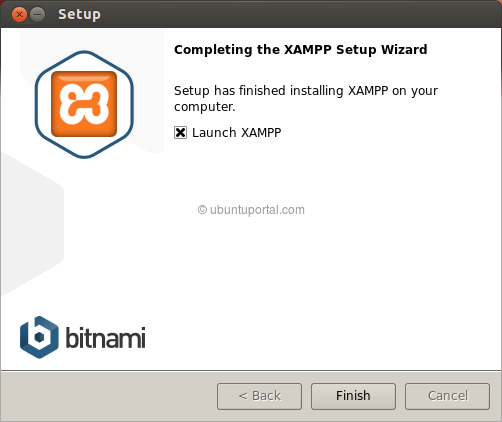
Setup has finished installing XAMPP on your computer.
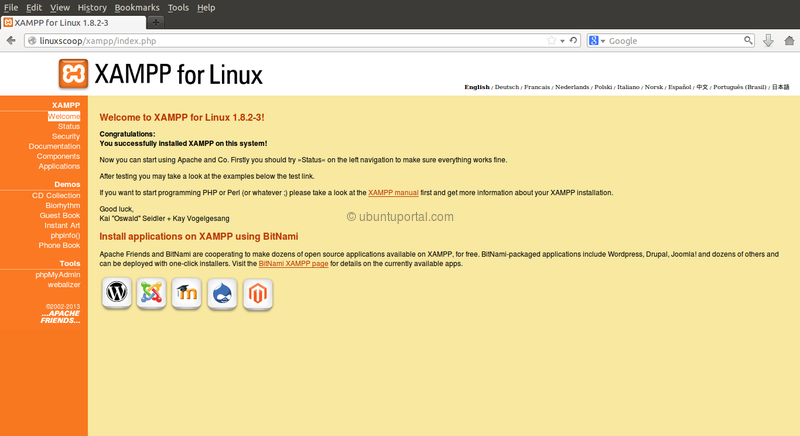
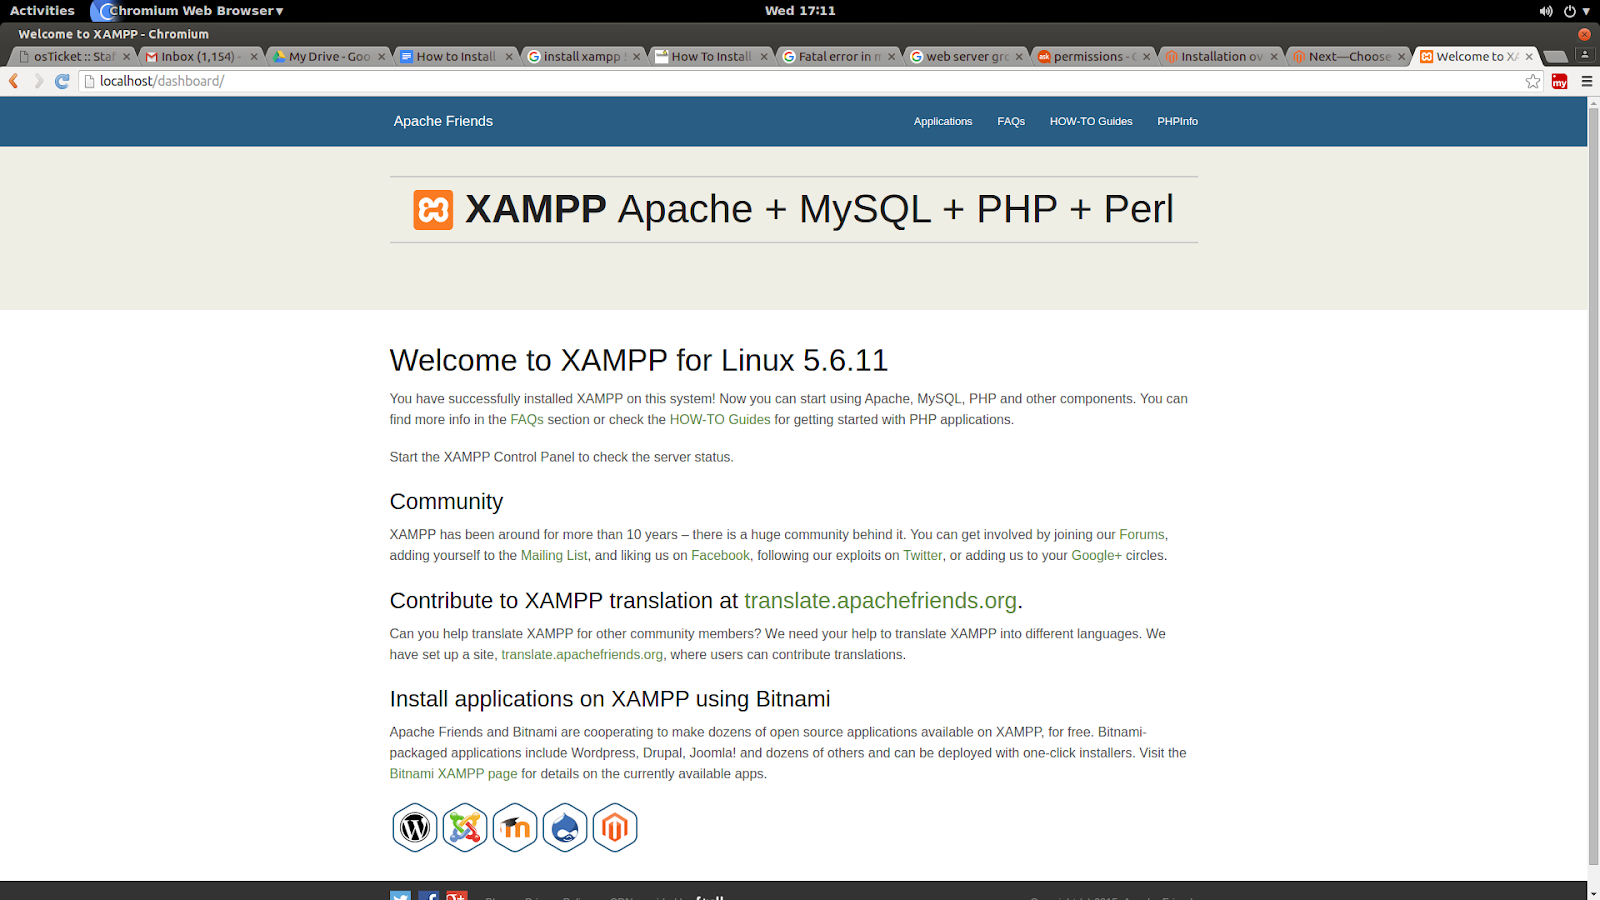
open up your web browser, and navigate to http://localhost/xampp.
Screenshot from 2015-12-30 17:11:06.png

Magento software installation

1    Download magento folder on the magento website.
2    After downloading extract this folder and move in  this path“ /opt/lampp/htdocs ‘

3    change ownership of lampp user ( by default daemon user in xampp )
  • open terminal  and  type this command “ sudo nano /opt/lampp/etc/httpd.conf “ and change :
          Open /opt/lampp/etc/httpd.conf change nobody and nogroup
             User daemon  to User < ur local user >
             User  daemon to Groups < ur local group >
4      After change ur magento2  folder Ownership below this command
        sudo chown admin:admin  /opt/lampp/htdocs/magento2
5       After Full control(permission)  below folder into magento2
        sudo chmod  -R 777 var/ pub/  App/etc
6    After run this commands :
chmod -R g+w /opt/lampp/magento2/{app/etc,vendor}
chmod -R g+w /opt/lampp/htdocs/magento2/{app/etc,vendor}
find /opt/lampp/htdocs/magento2/ -type d -print0 | xargs -r0 chmod 750
find /opt/lampp/htdocs/magento2/ -type f -print0 | xargs -r0 chmod 640

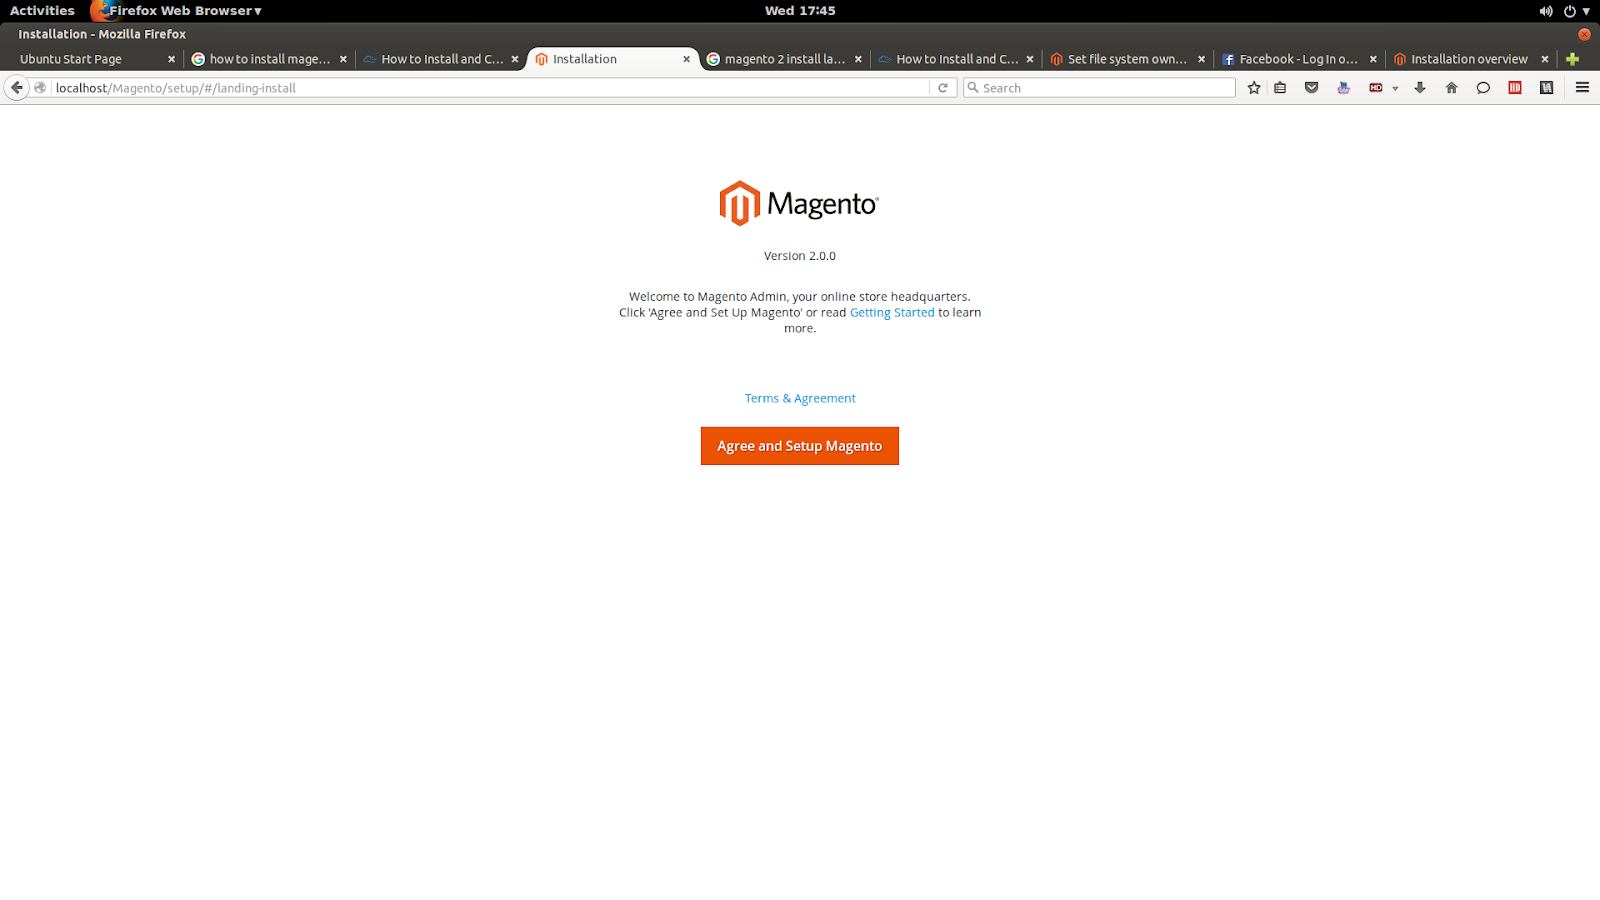
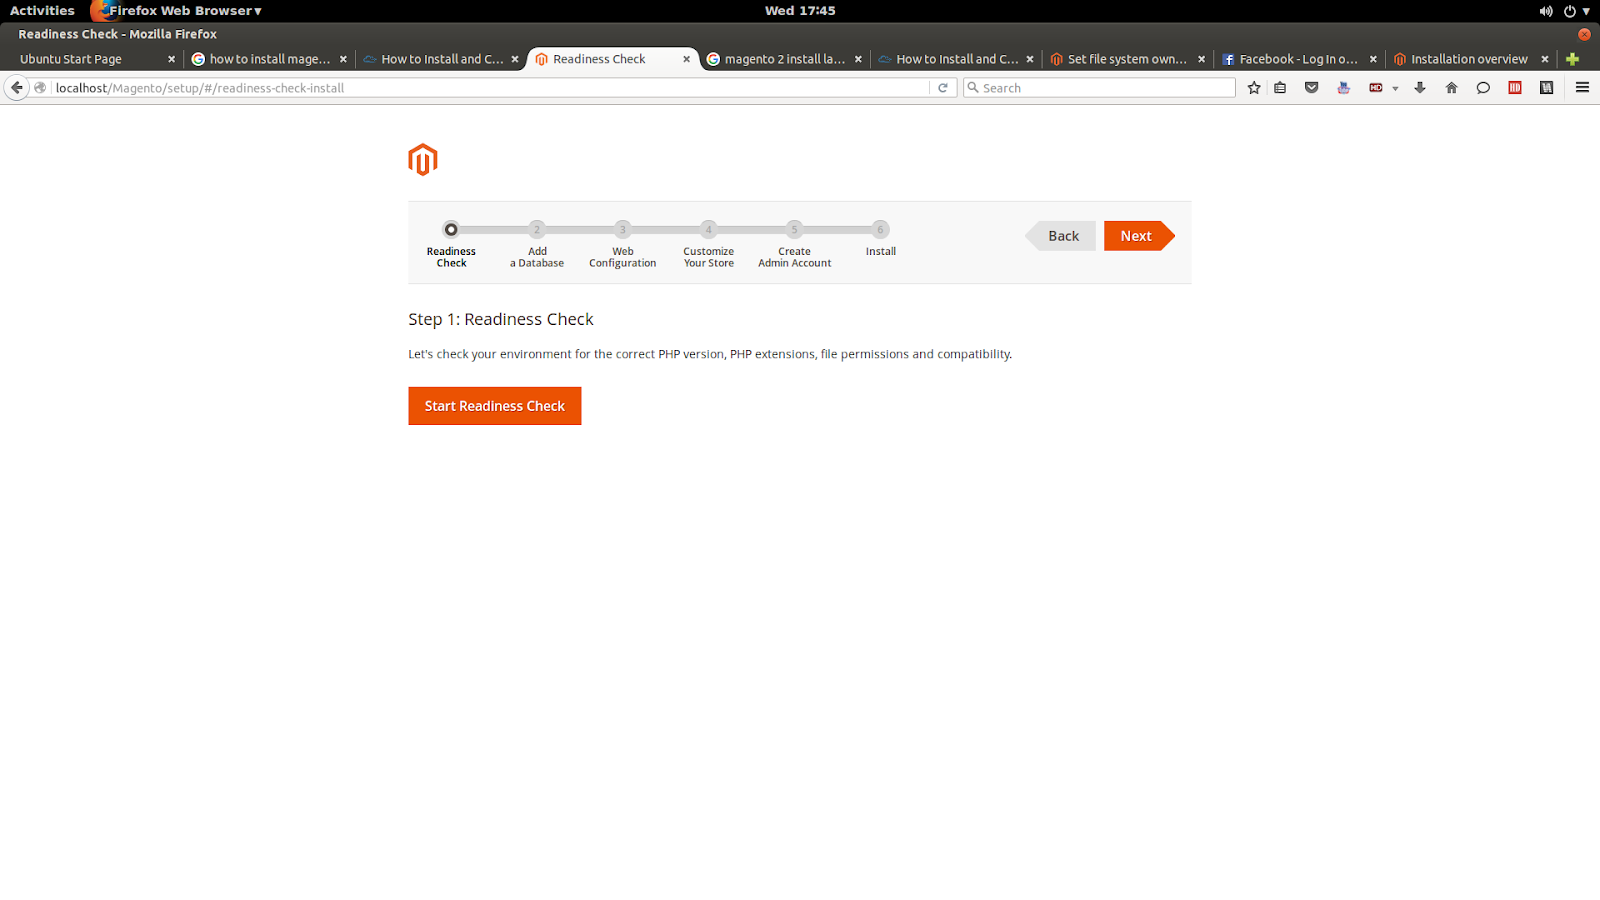
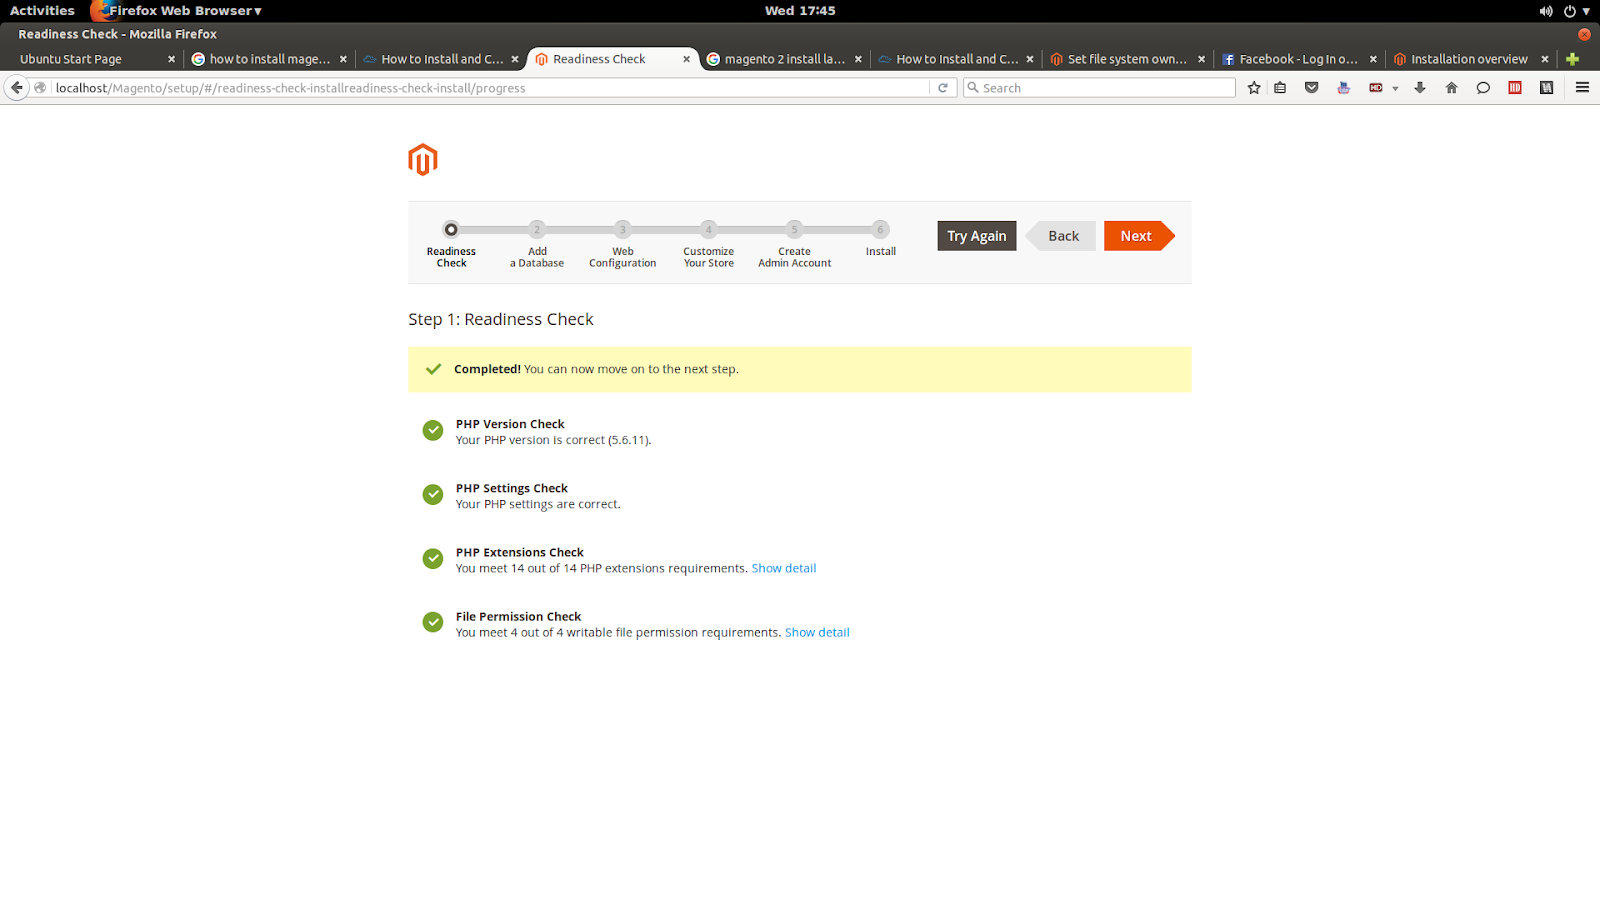
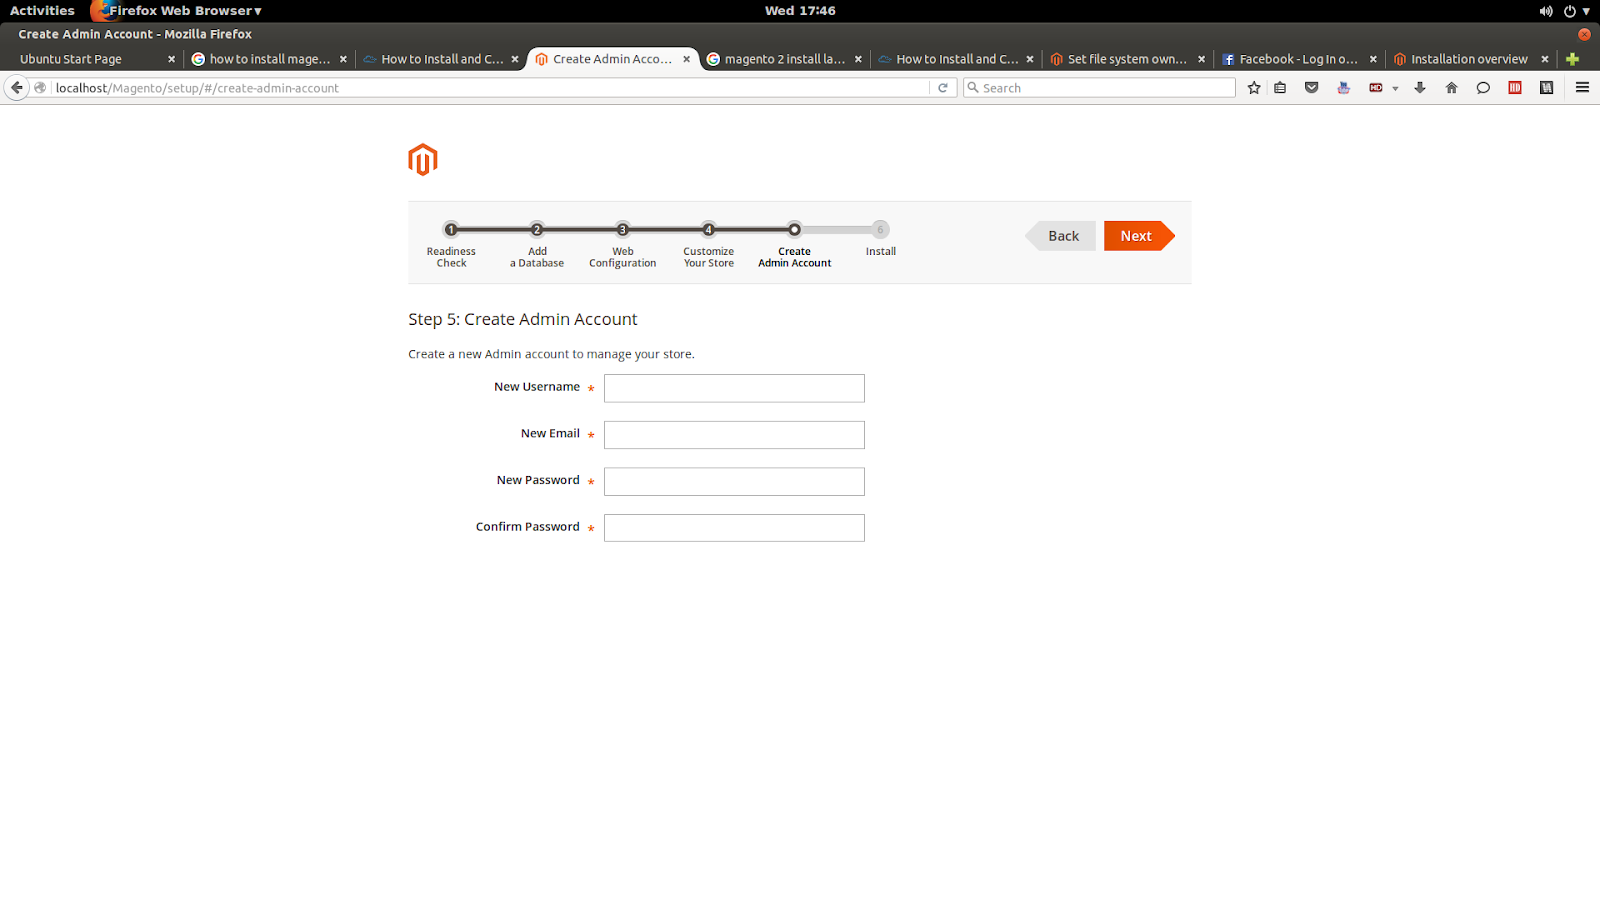
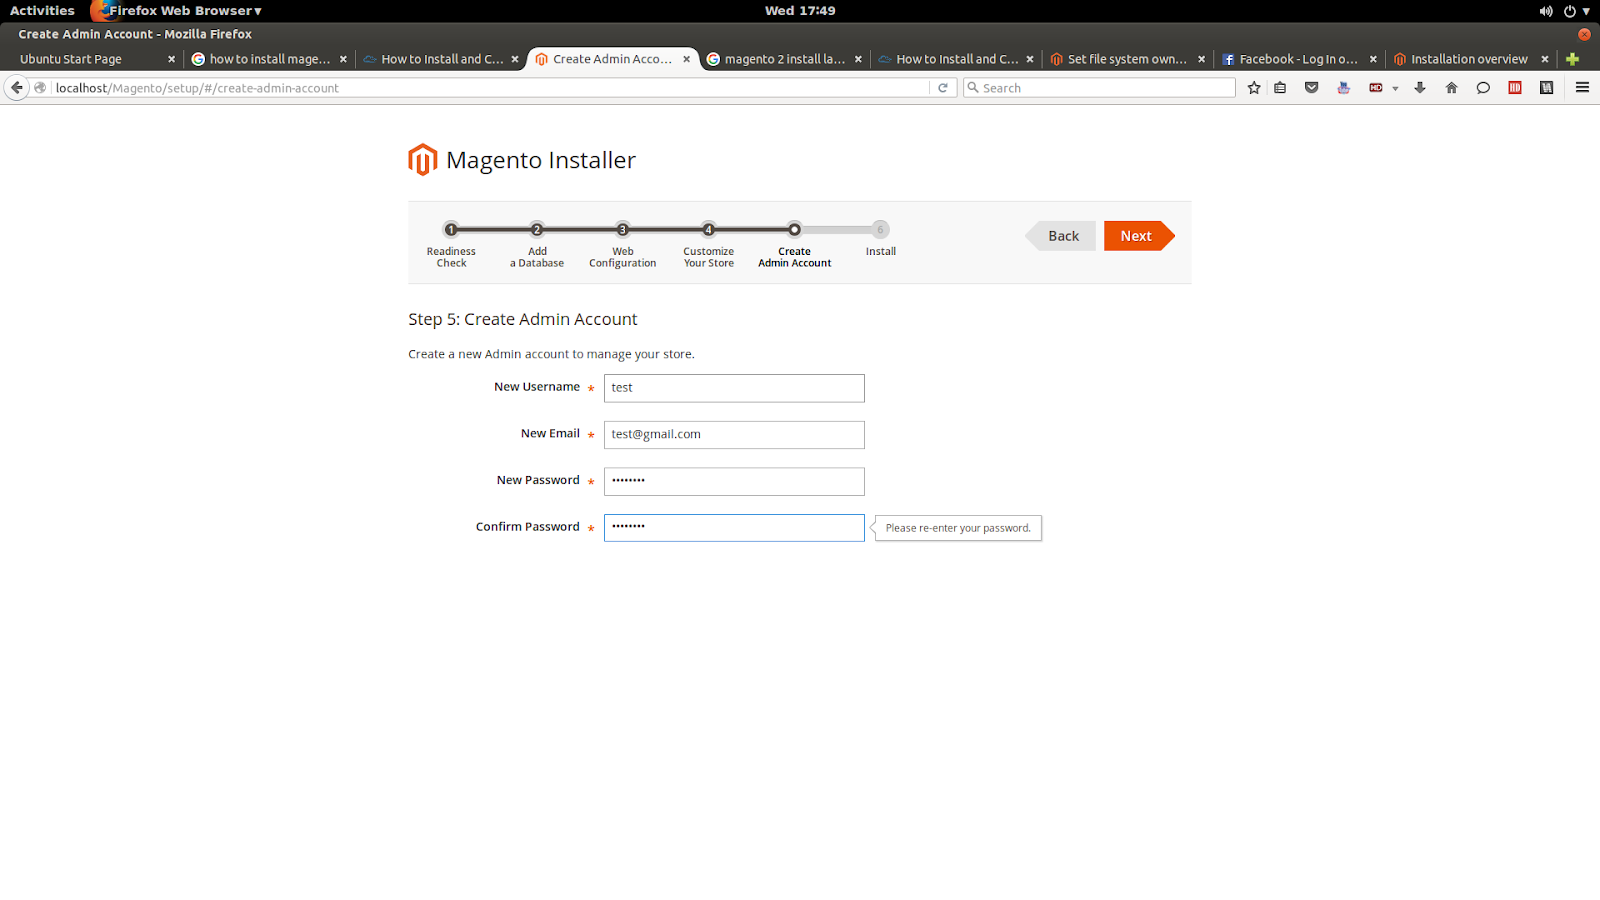
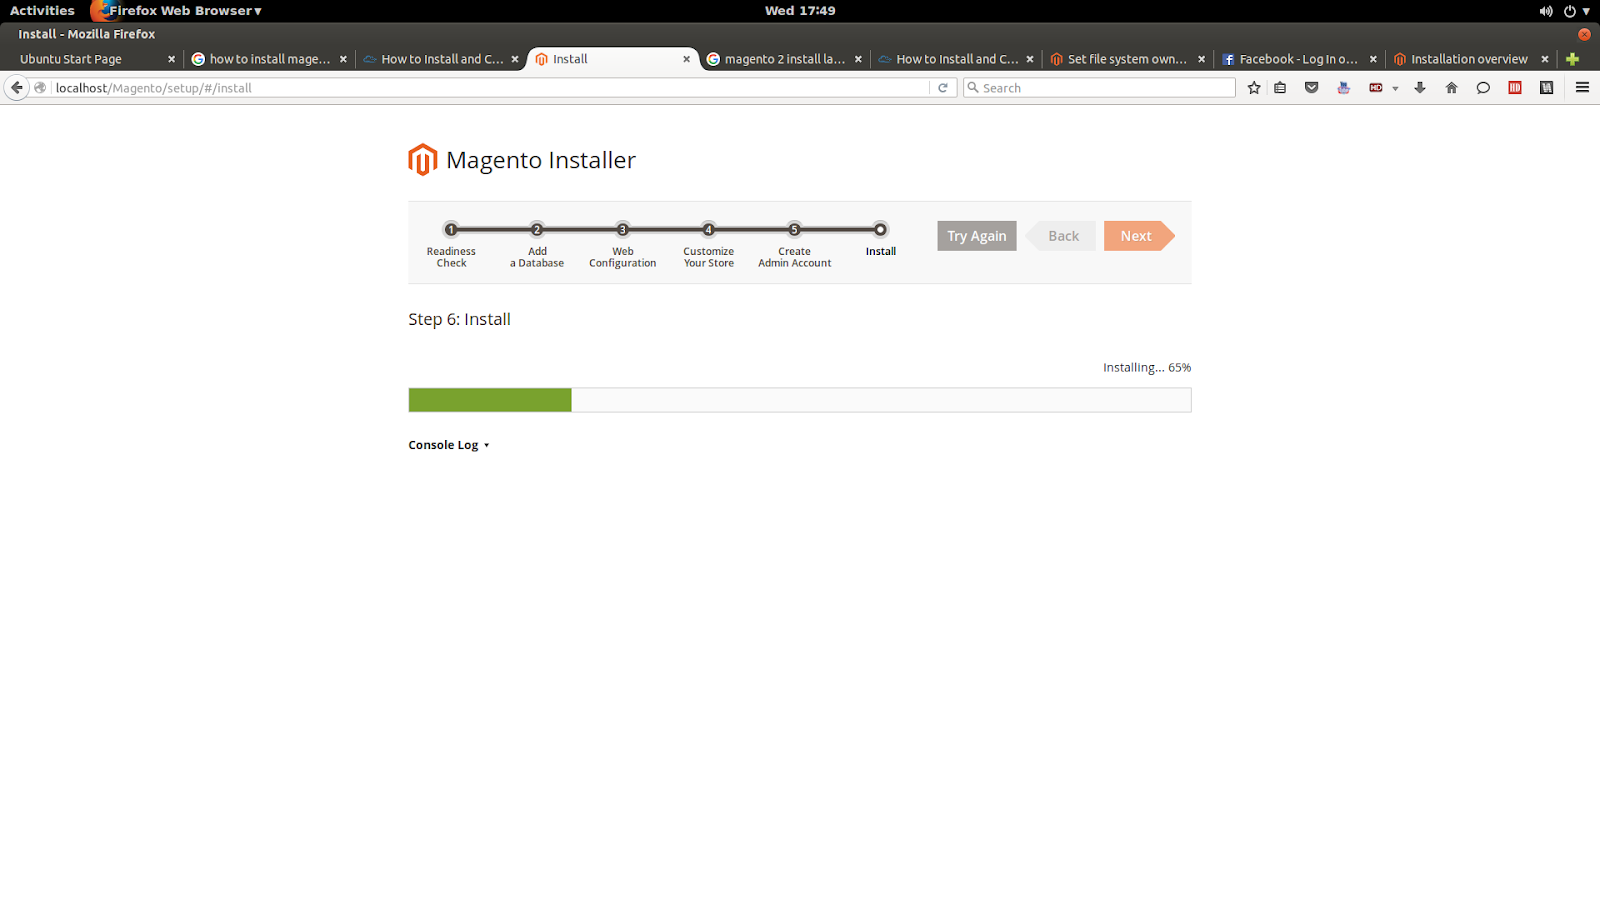
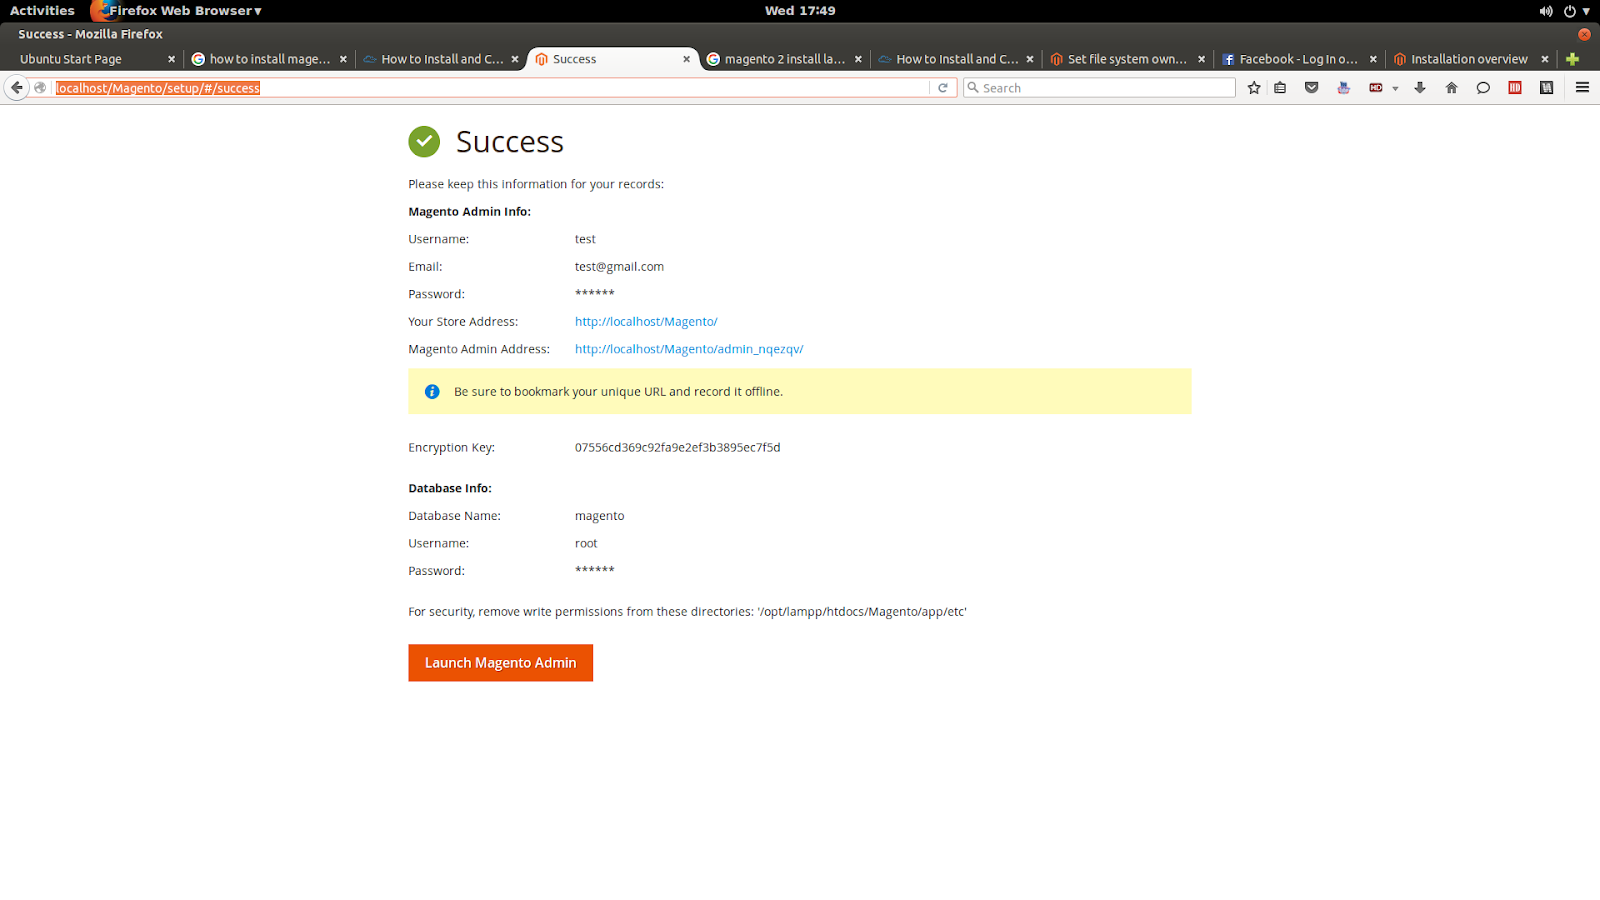
7   Step 4 — Completing Installation Through the Web Interface
  • http://server_domain_name_or_IP/magento2

          1.png

2.png
3.png
4.png
5.png
6.png
7.png
8.png
9.png
10.png
11.png
12.png

Wednesday 22 July 2015

How to Install ZendGuardLoader & Xdebugger Extension in Lampp 1.8.1(ubuntu 14.04)


Install Xampp :

Step 1. Open terminal and download XAMPP 1.8.2

for 32-bit:
http://sourceforge.net/projects/xampp/files/XAMPP%20Linux/1.8.2/xampp-linux-1.8.2-6-installer.run/download
for 64-bit:
http://sourceforge.net/projects/xampp/files/XAMPP%20Linux/1.8.2/xampp-linux-x64-1.8.2-6-installer.run/download


Step 2. After that, Change xampp package installer to executable then run to installing with following command:
sudo chmod +x xampp-linux-x64-1.8.3-2-installer.run
sudo ./xampp-linux-x64-1.8.3-2-installer.run
The window installation wizard will appear:
Installation wizard XAMPP 1
Click “Next”. Another appears:
Installation wizard XAMPP 2
Click “Next” again. And you will go to the next window:
Installation wizard XAMPP 3Click “Next” again. And will to the following:
Installation wizard XAMPP 4
Uncheck: “Learn more about BitNami for XAMPP”
And click “Next”
Installation wizard XAMPP 5
Click Next again. Wait for the installation:
Installation wizard XAMPP 1
When finished, this will be the last window:
Setup_199
When you checked “launch XAMPP” before clicking finish A page will open in your browser,  If the page does not open automatically, go into your browser’s address and type http://localhost/xampp
To stop the XAMPP service:
sudo /opt/lampp/lampp stop
To start the XAMPP service:
sudo /opt/lampp/lampp start
To open the page of XAMPP, whenever you want, type in the address bar of your browser: http://localhost/xampp/
XAMPP for Linux 1.8.2-3 -Ubuntu


Install XDebug


Step 1  :   First Download XDebugger

                             or

tar xzf xdebug-2.0.3.tgz

cd xdebug-2.0.3/

phpize

After this you will have following output on your console…
Configuring for:
PHP Api Version:         20041225
Zend Module Api No:      20060613
Zend Extension Api No:   220060519
./configure

make

sudo make install
Note : xdebug.so file automatic created  in xdebug-2.0.3 folder after above process)

After  Copy xdebug.so file copy in  Xampp Extension Path ( /opt/lampp/lib/php/extensions/no-debug-non-zts-20060613 )

then  Open PHP.INI file ( /opt/lampp/etc/php.ini) and add this line

zend_extension = /opt/lampp/lib/php/extensions/no-debug-non-zts-20060613/xdebug.so
xdebug.remote_autostart=on
xdebug.remote_enable=on
xdebug.remote_enable=1
xdebug.remote_handler="dbgp"
;xdebug.remote_host="localhost"
xdebug.remote_host=10.2.2.1
;xdebug.remote_connect_back=1
xdebug.remote_port=9000
xdebug.remote_mode=req
xdebug.idekey="netbeans-xdebug"


ZendGuardLoader Installation :

First Download ZendGuardLoader.so file in the below url :

After copy this in below location and add tline
sudo nano /opt/lampp/etc/php.ini

zend_extension=/opt/lampp/lib/php/extensions/no-debug-non-zts-20100525/ZendGuardLoader.so
zend_loader.disable_licensing=0
zend_loader.enable=1
zend_loader.obfuscation_level_support=1

Wednesday 4 February 2015

How To Install Node.js and NPM on an Ubuntu 14.04 server


Step 1: Add PPA in System

First add node.js ppa in our system using following set of command. We also need to install python-software-properties package if not installed already.
$ sudo apt-get install python-software-properties
$ sudo apt-add-repository ppa:chris-lea/node.js
$ sudo apt-get update
without PPA in Terminal
sudo apt-get install nodejs
Step 2: Install Node.js and NPM
After adding required PPA file, lets install Nodejs package. NPM will also be installed with node.js. This command will also install many other dependent packages on your system.
$  sudo apt-get install nodejs
you will need to install the build-essentials package for NPM
$ sudo apt-get install build-essential
after do that install with below command
$  sudo apt-get install npm

Step 3: Check Node.js and NPM Version

$ node -v
$ npm  -v

Step 4: Create Demo Web Server (Optional)

This is an optional step. If you want to test your node.js install. Lets create an web server with “Hello World!” text. Create a file http_server.js
$ vim http_server.js

and add following content

var http = require('http');
http.createServer(function (req, res) {
 res.writeHead(200, {'Content-Type': 'text/plain'});
 res.end('Hello World\n');
}).listen(3001, "127.0.0.1");
console.log('Server running at http://127.0.0.1:3001/');
Now start the web server using below command.

$ node --debug http_server.js

debugger listening on port 5858
Server running at http://127.0.0.1:3001/

How To Install Redis Server 2.8.17 On Ubuntu 14.04 with Lampp ( Xampp )


Install Redis-server


$ sudo add-apt-repository ppa:chris-lea/redis-server

$ sudo apt-get update

$ sudo apt-get install redis-server


Install Redis  PHP Driver to Lampp

Note that if you install XAMPP using the new .run installer file (versions newer than 1.8.3) then you will get the option during setup to install the development files as well as the core files. Remember to select both.

1 Please download lattest xampp for ubuntu and install with following command:

cd Download ( where xampp download location)
sudo chmod +x xampp-linux-1.8.3-4-installer.run
sudo ./xampp-linux-1.8.3-4-installer.run
 

 2. Run the pecl installer
1
sudo /opt/lampp/bin/pecl install redis-2.2.5

Note : If You getting below error : “ ERROR: `phpize' failed”

sudo apt-get install php5-dev

Now again run this command :

sudo /opt/lampp/bin/pecl install redis-2.2.5

Note : again any error same like

the error message you got:
configure: error: sasl.h not found!
should be solveable by:
sudo apt-get install libsasl2-dev
3. Finally add the following to the php.ini file (located in /opt/lampp/etc folder)
1
extension=redis.so
4. restart xampp server

1
sudo /opt/lampp/lampp start
That’s it!